
Deck
Before & After.
From a weathered wooden deck to a finished outdoor space. See the craftsmanship behind the transformation, one stage at a time.
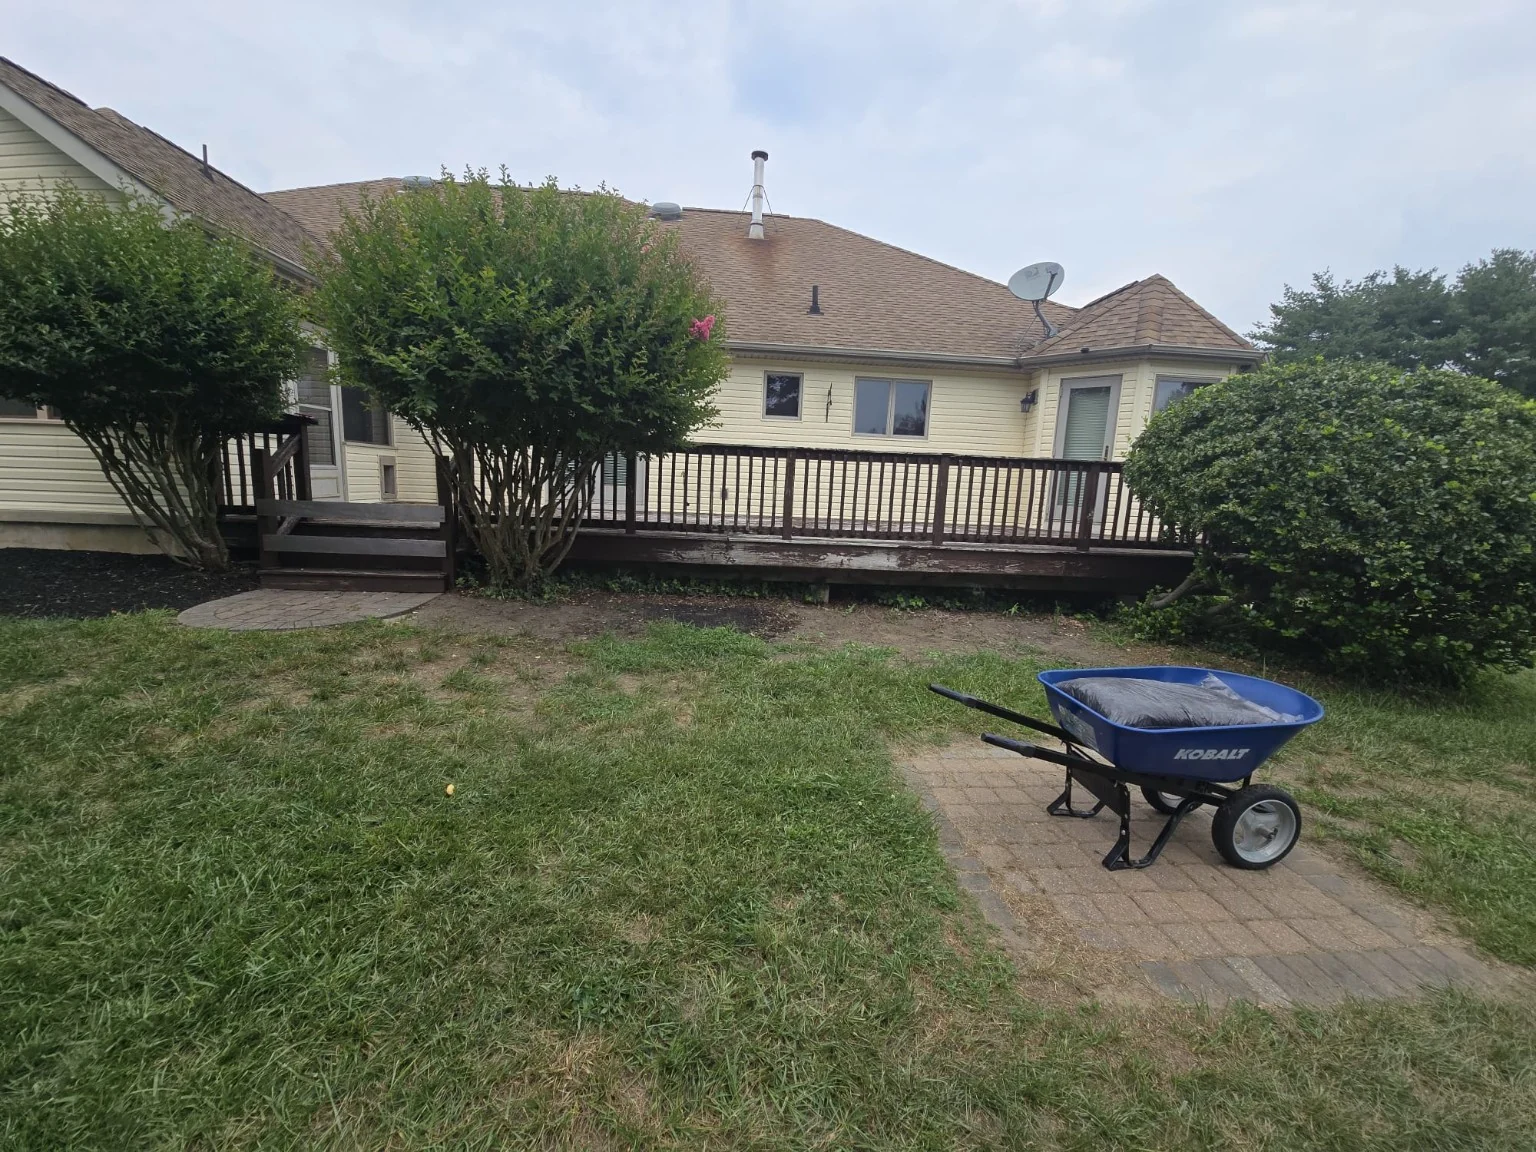
The original deck
The original wooden deck and brown railings before the renovation began.
The same home.
A renewed place to gather.
See the original deck before work began, then compare the finished decking and black railings from three viewpoints.
01 / Front view
BEFOREThe original deck
The original wooden deck and brown railings before the renovation began.
Open photo ↗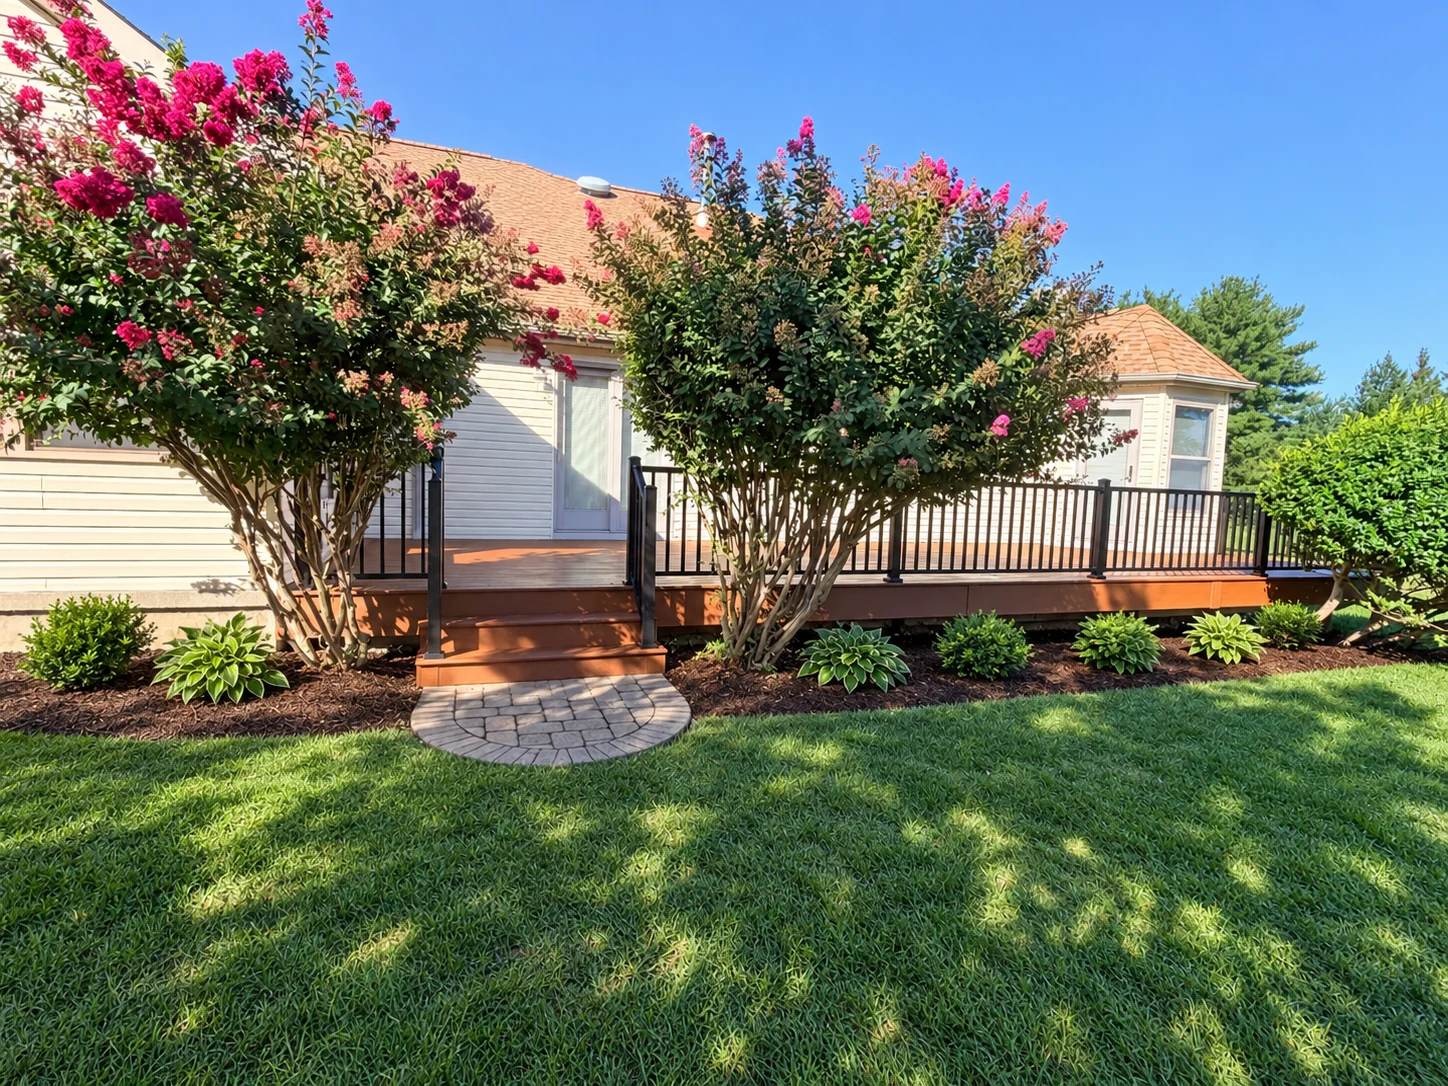 AFTER
AFTERThe finished view
Warm brown decking, finished steps and black railings bring the outdoor space together.
Open photo ↗02 / Along the deck
 BEFORE
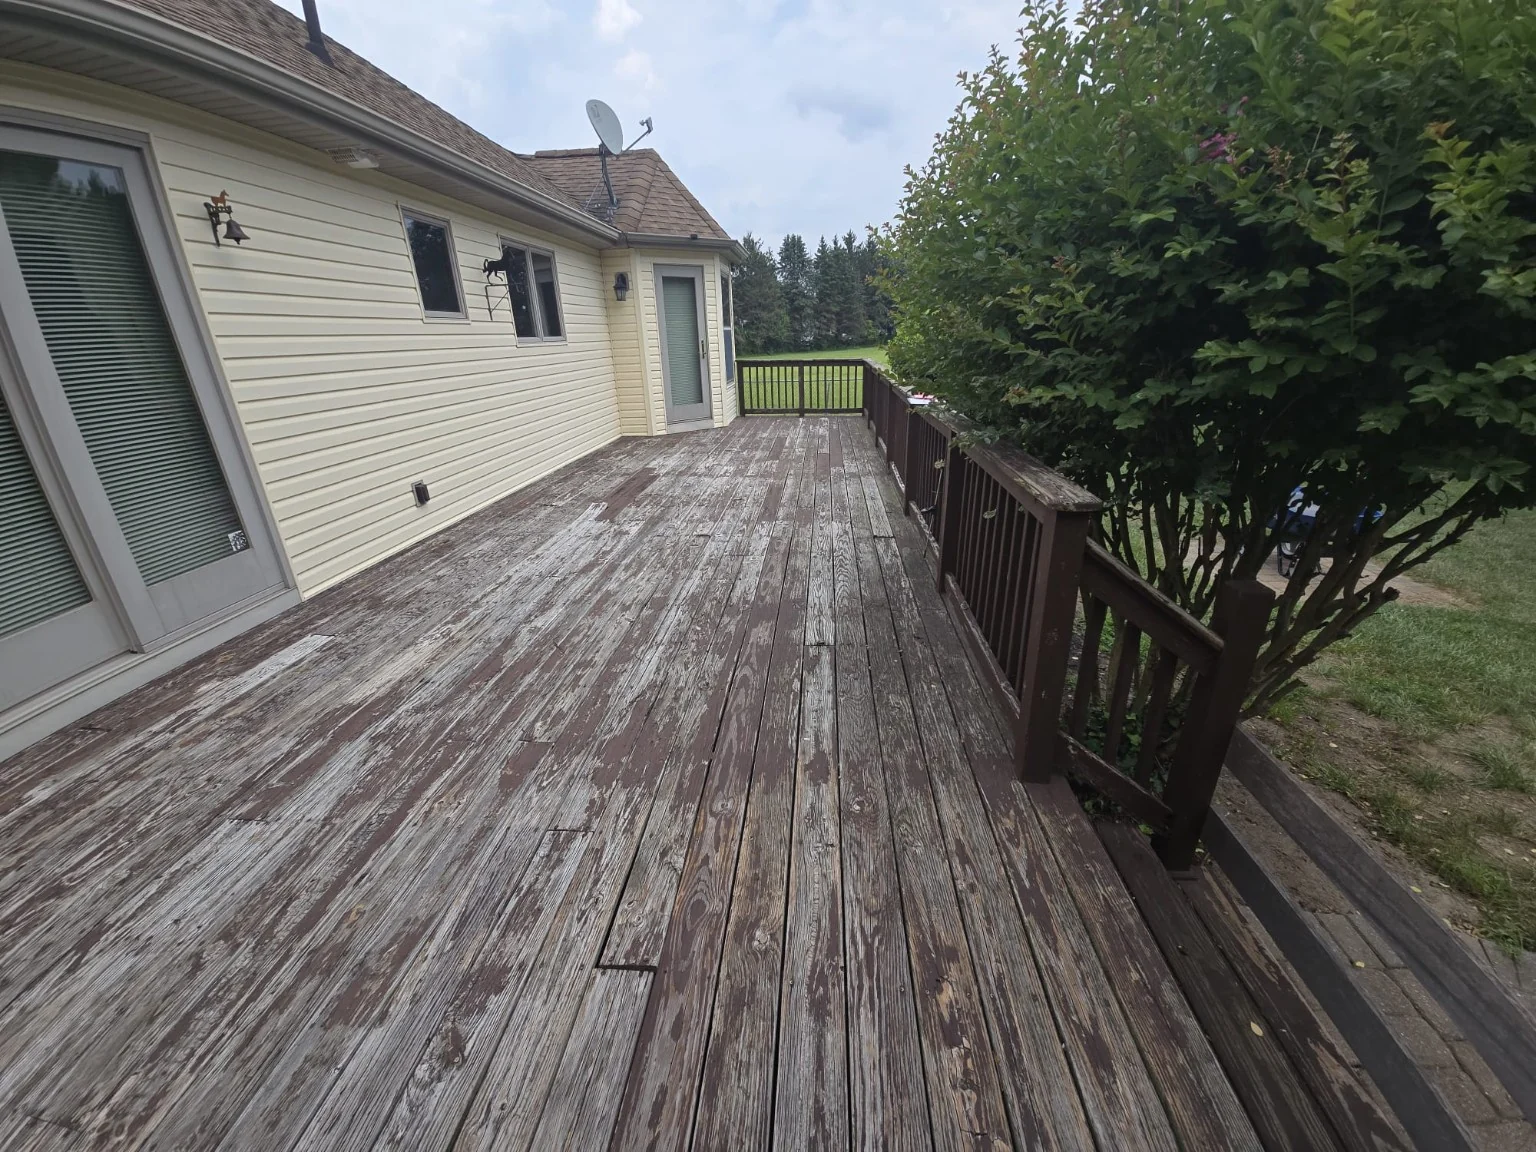
The weathered surface
The original deck boards show extensive surface wear before the work began.
Open photo ↗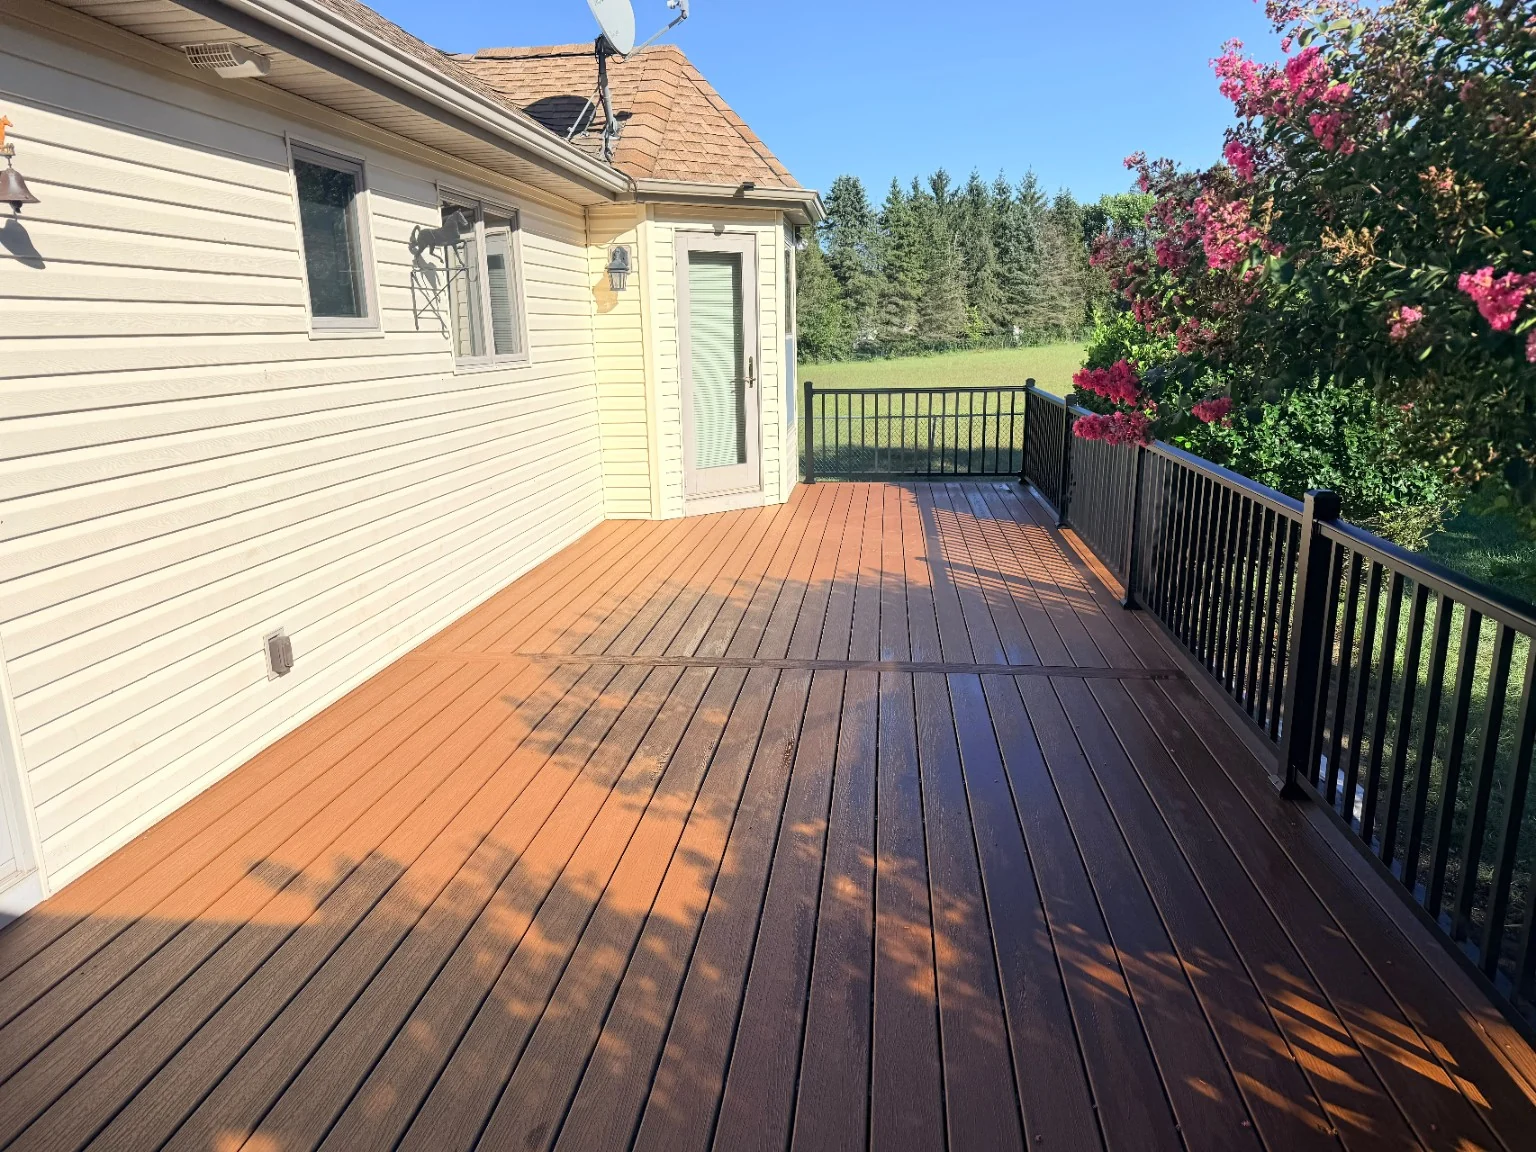 AFTER
AFTERThe renewed deck surface
New brown decking and black railings along the same side of the house.
Open photo ↗03 / Toward the porch
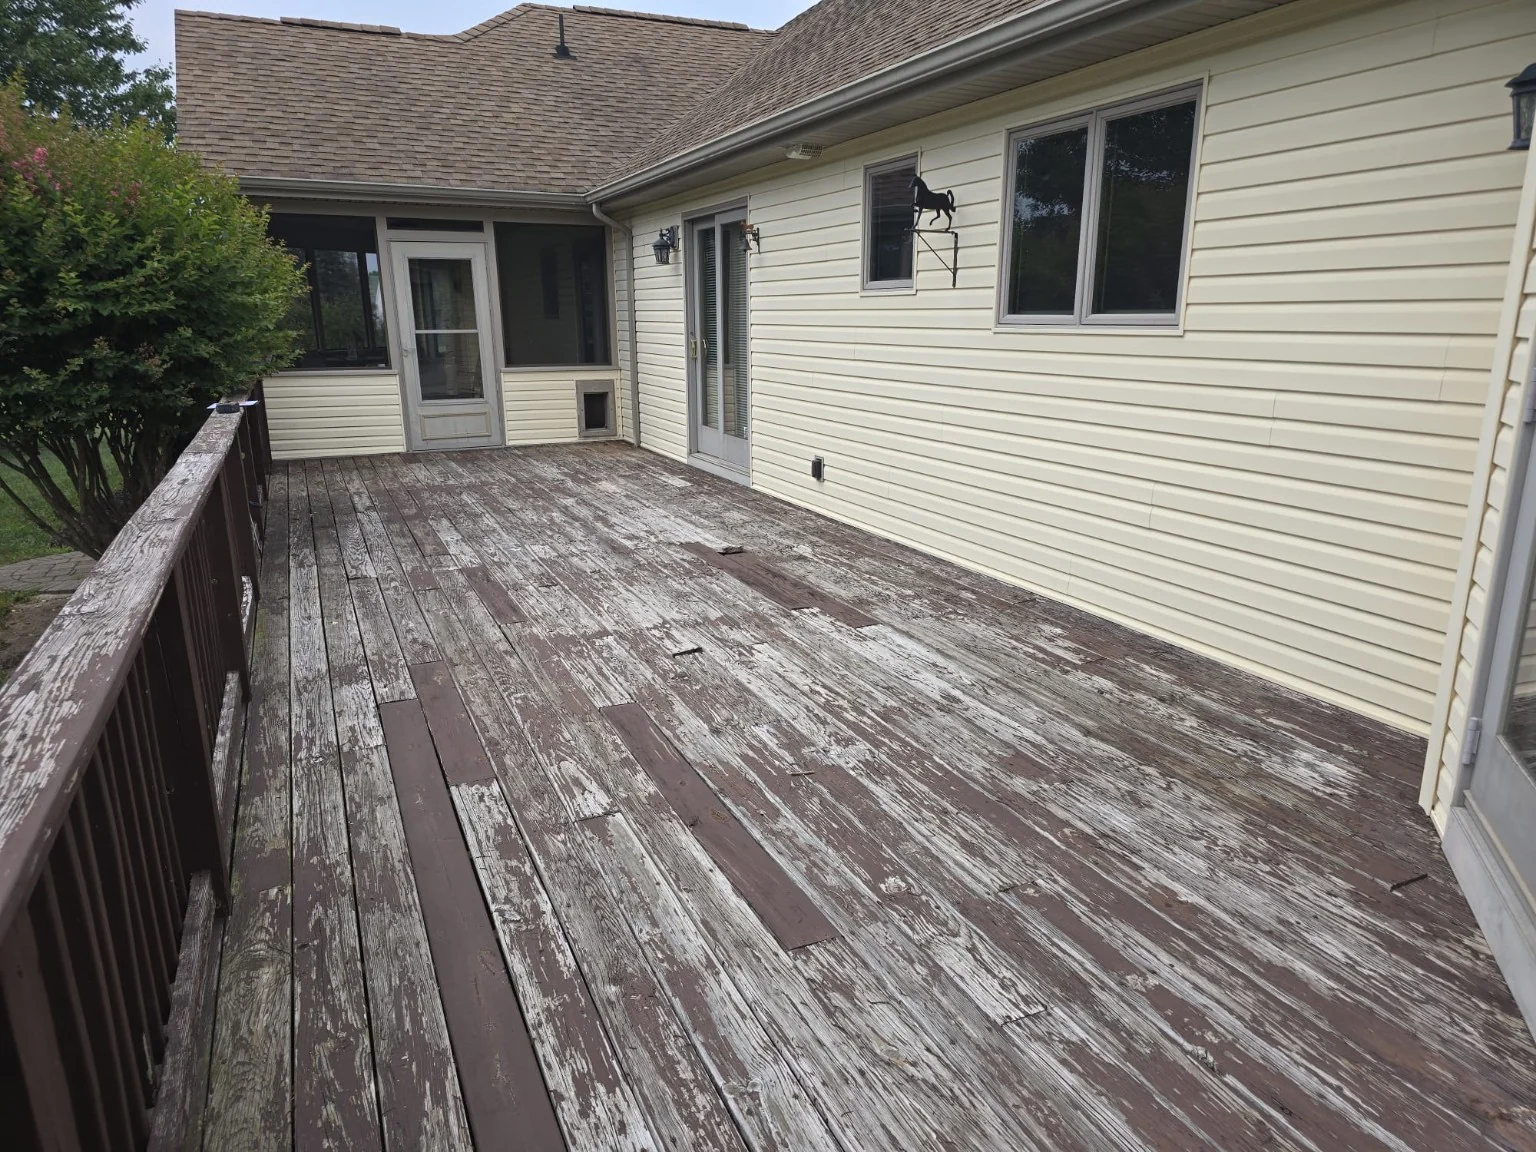 BEFORE
Before, looking toward the porch
The original deck surface and brown railing beside the screened porch.
Open photo ↗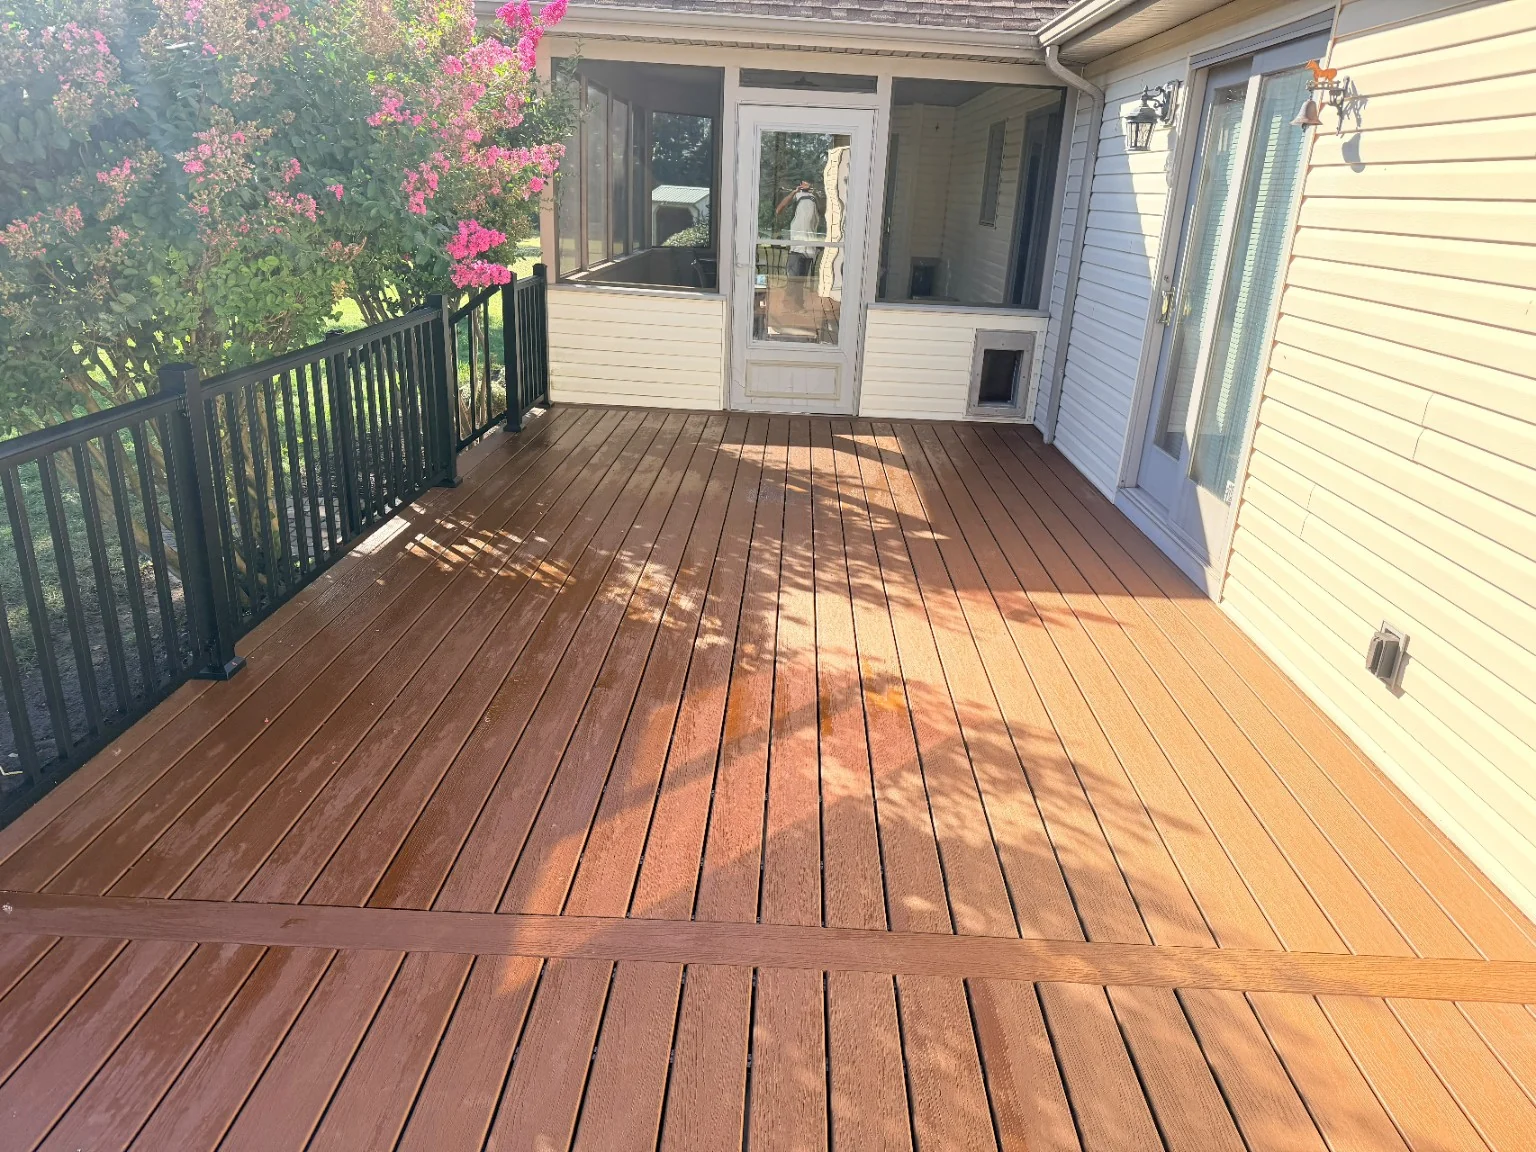 AFTER
AFTERAfter, looking toward the porch
The completed surface and black railing from the same end of the deck.
Open photo ↗Photos show the same project at different stages and from slightly different viewpoints. The three original-deck photographs preserve the original condition. Ground-level landscaping and temporary construction clutter in selected construction and finished photographs have been digitally retouched for presentation.
Thinking about renewing your own deck?
TALK WITH OUR TEAMFollow the build.
A closer look at the early structure, the decking installation and the details before the railings went in.
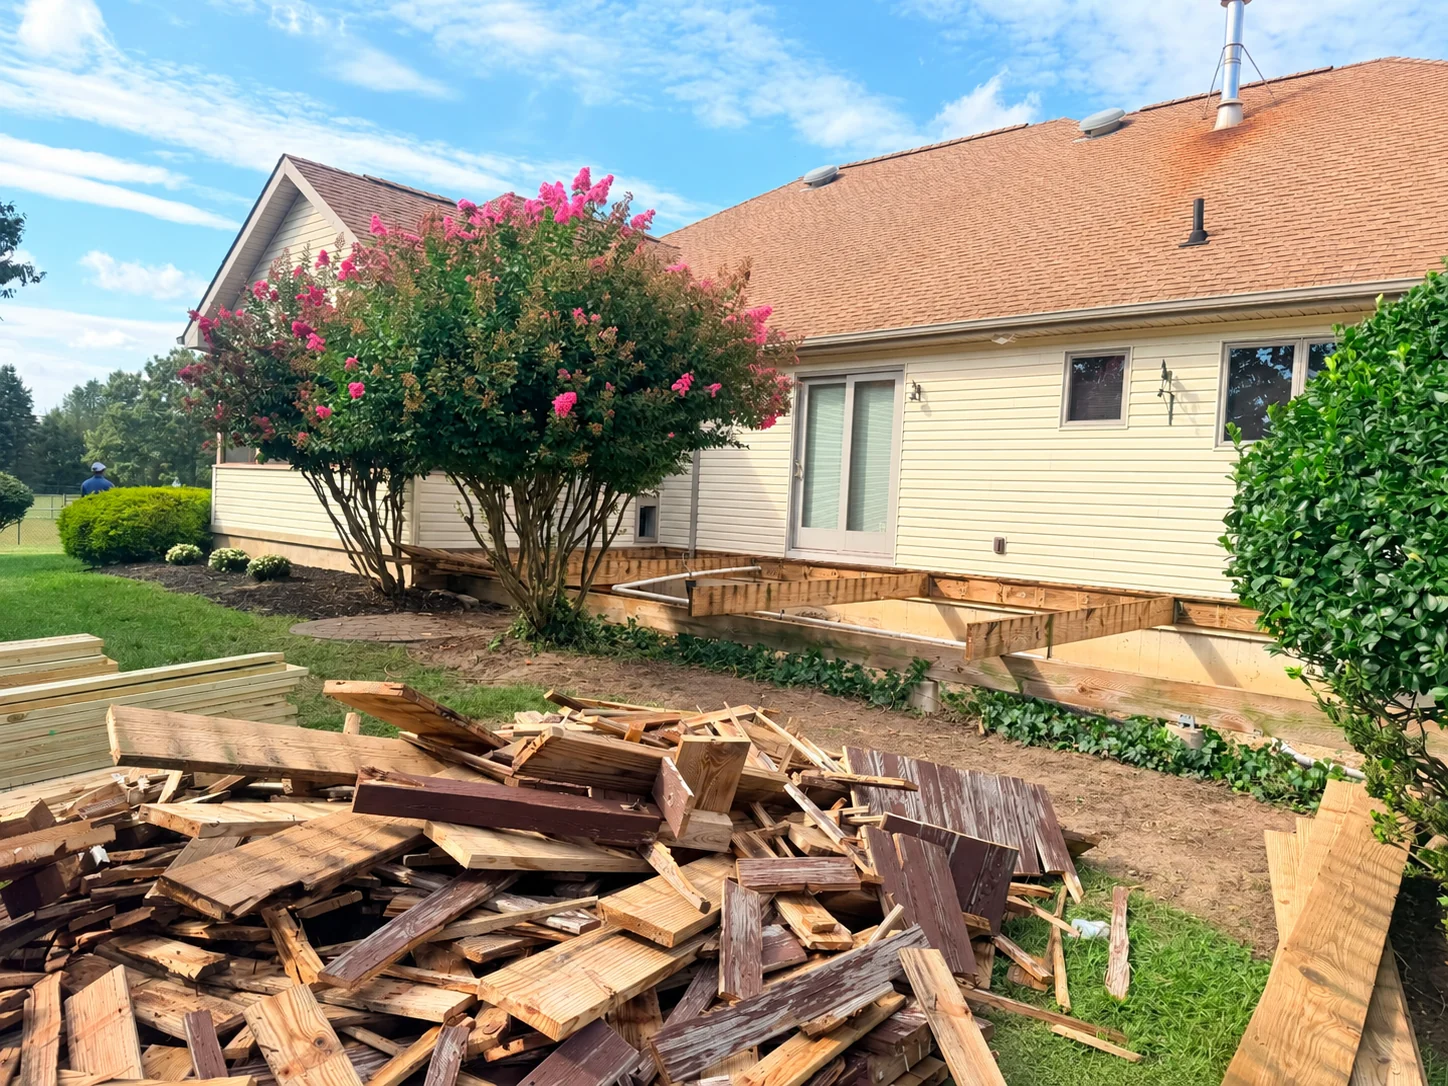 EARLY STAGE
01Decking removed
The exposed structure shows the project before rebuilding the deck surface.
Open photo ↗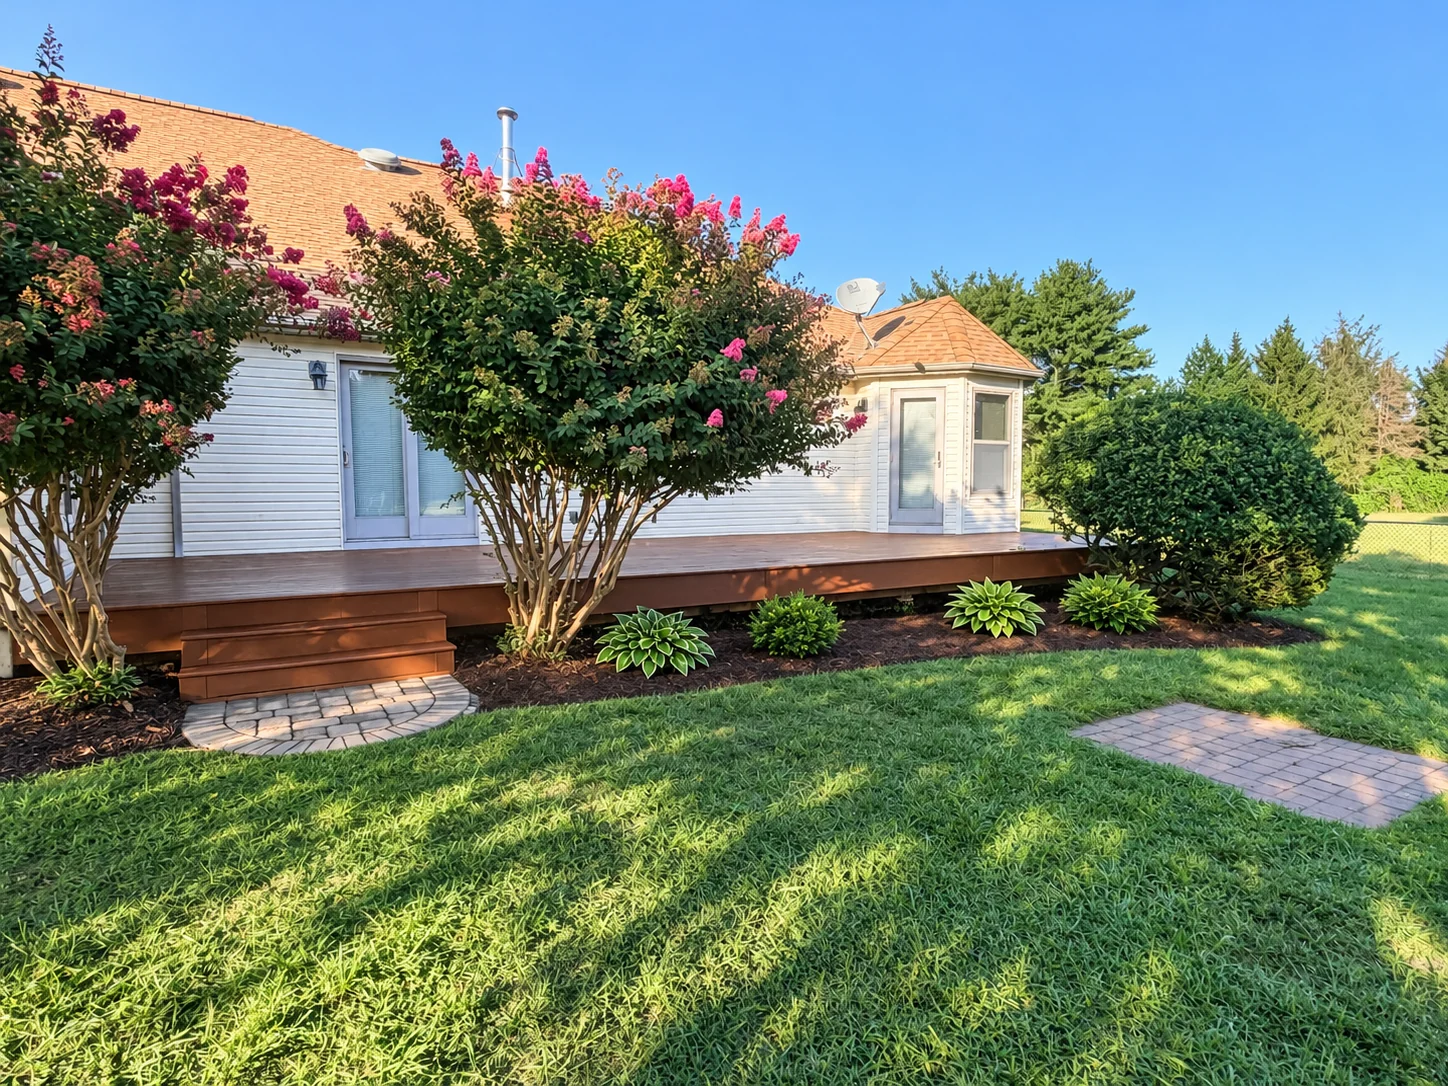 IN PROGRESS
02Surface takes shape
Deck boards, fascia and steps are in place. This photograph was taken before the railings were installed.
Open photo ↗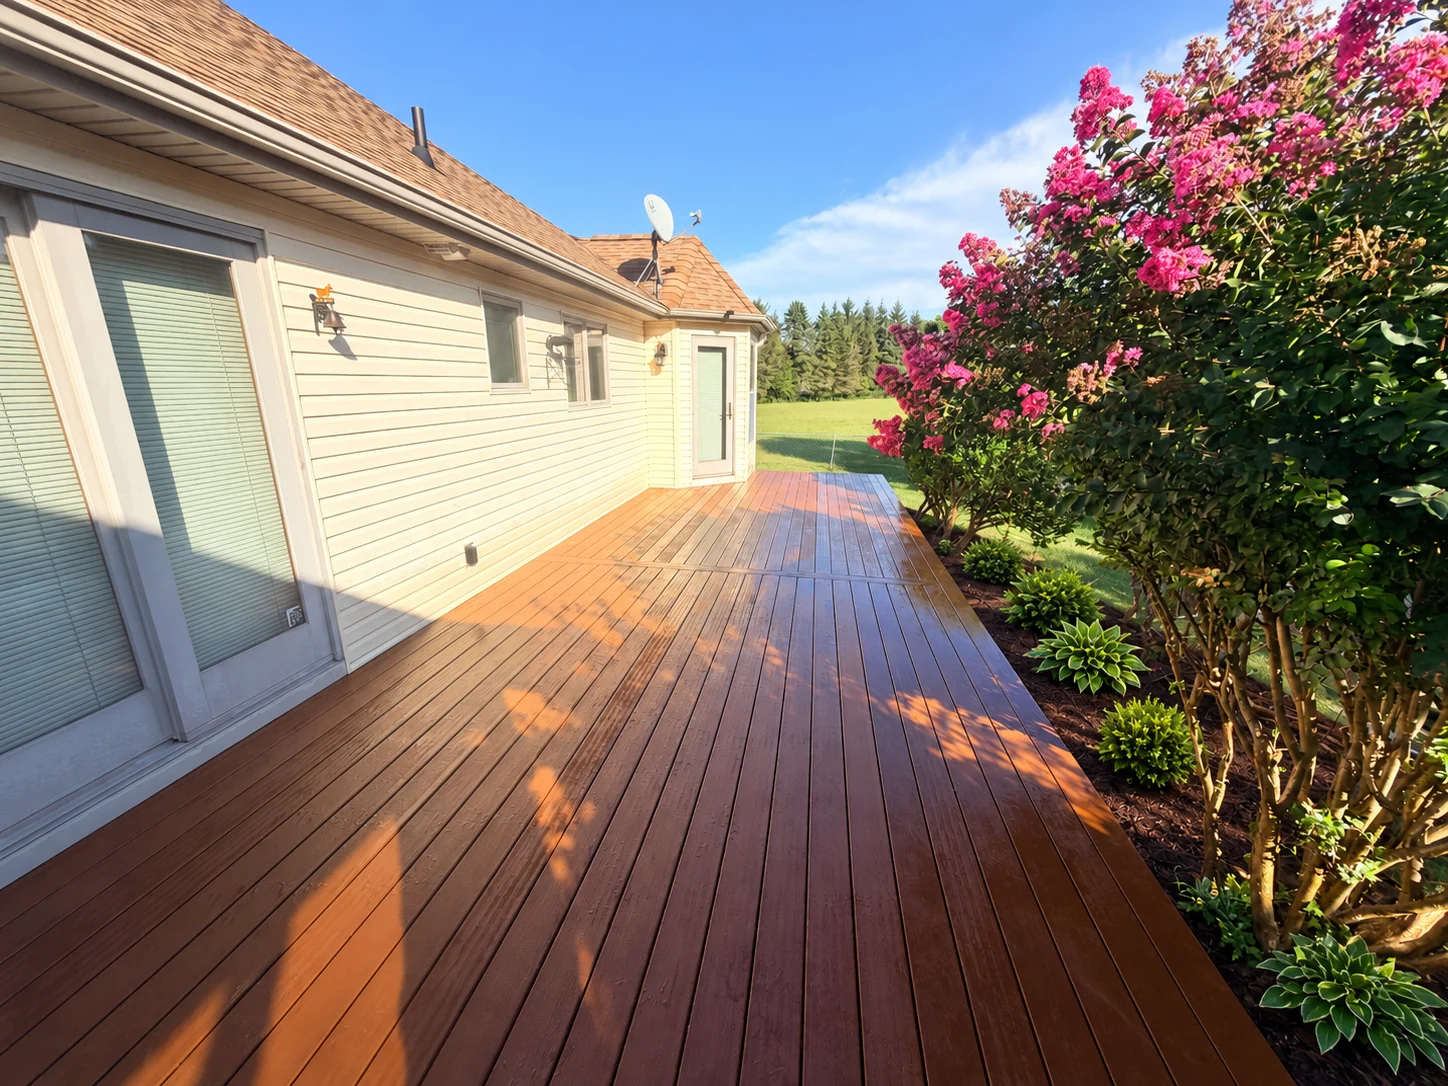 IN PROGRESS
03Details come together
A view along the newly installed surface, before the final railing stage.
Open photo ↗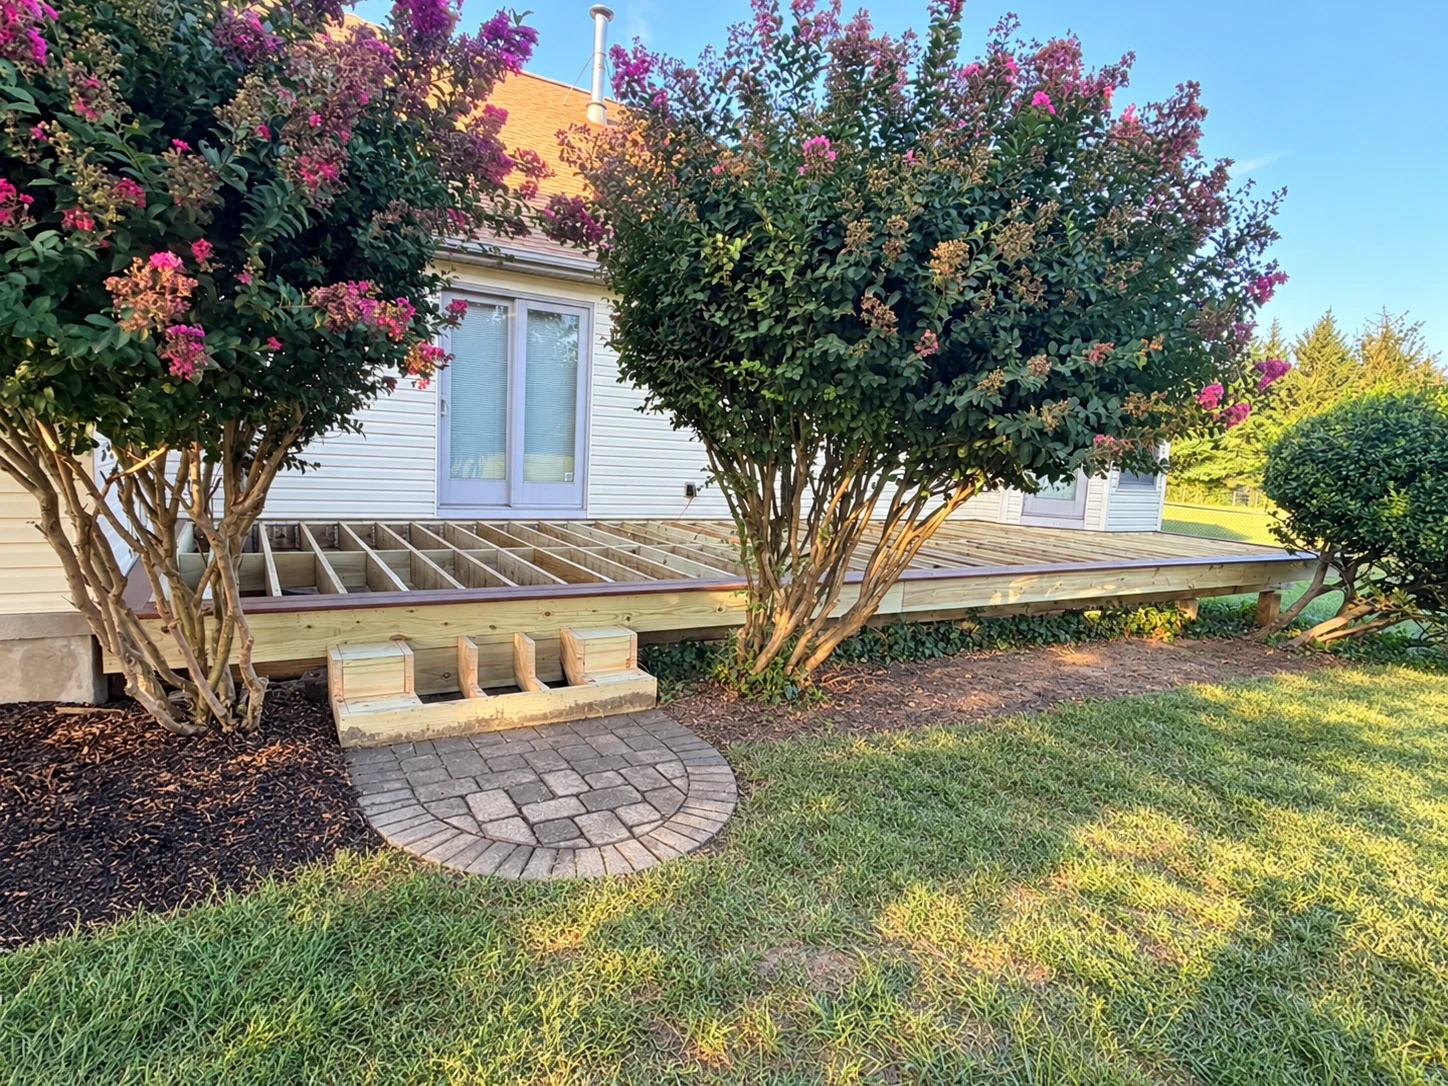 DURING
Framing and steps
After the old decking was removed, joists and the unfinished steps were visible.
Open photo ↗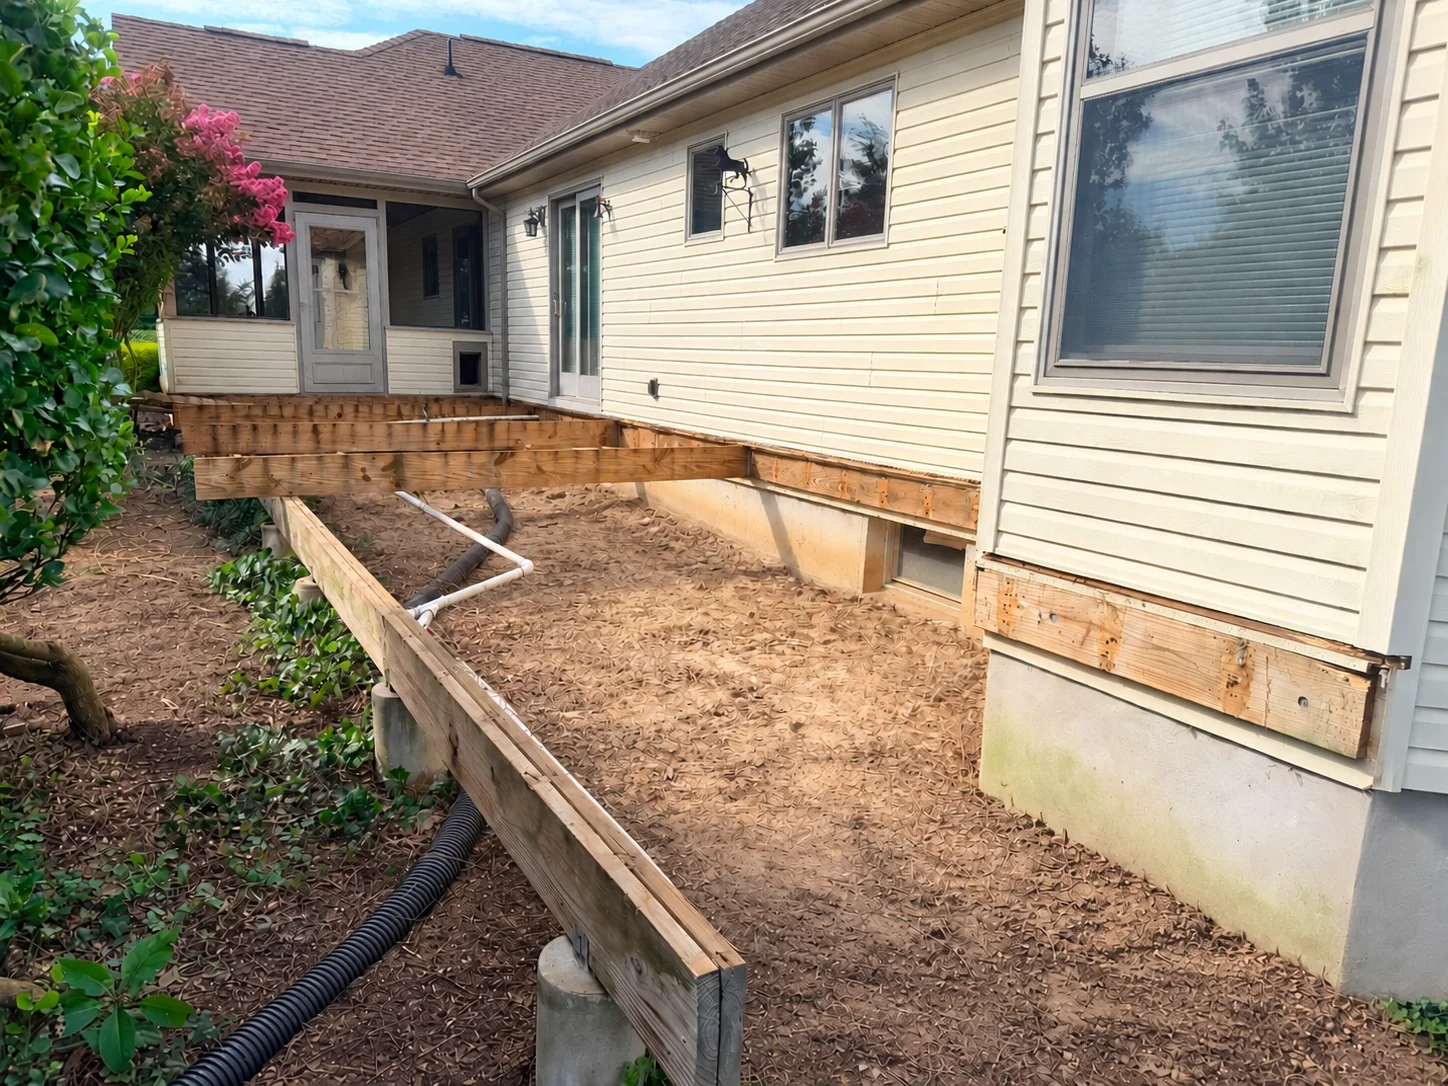 DURING
The exposed structure
A closer view along the house during the removal stage.
Open photo ↗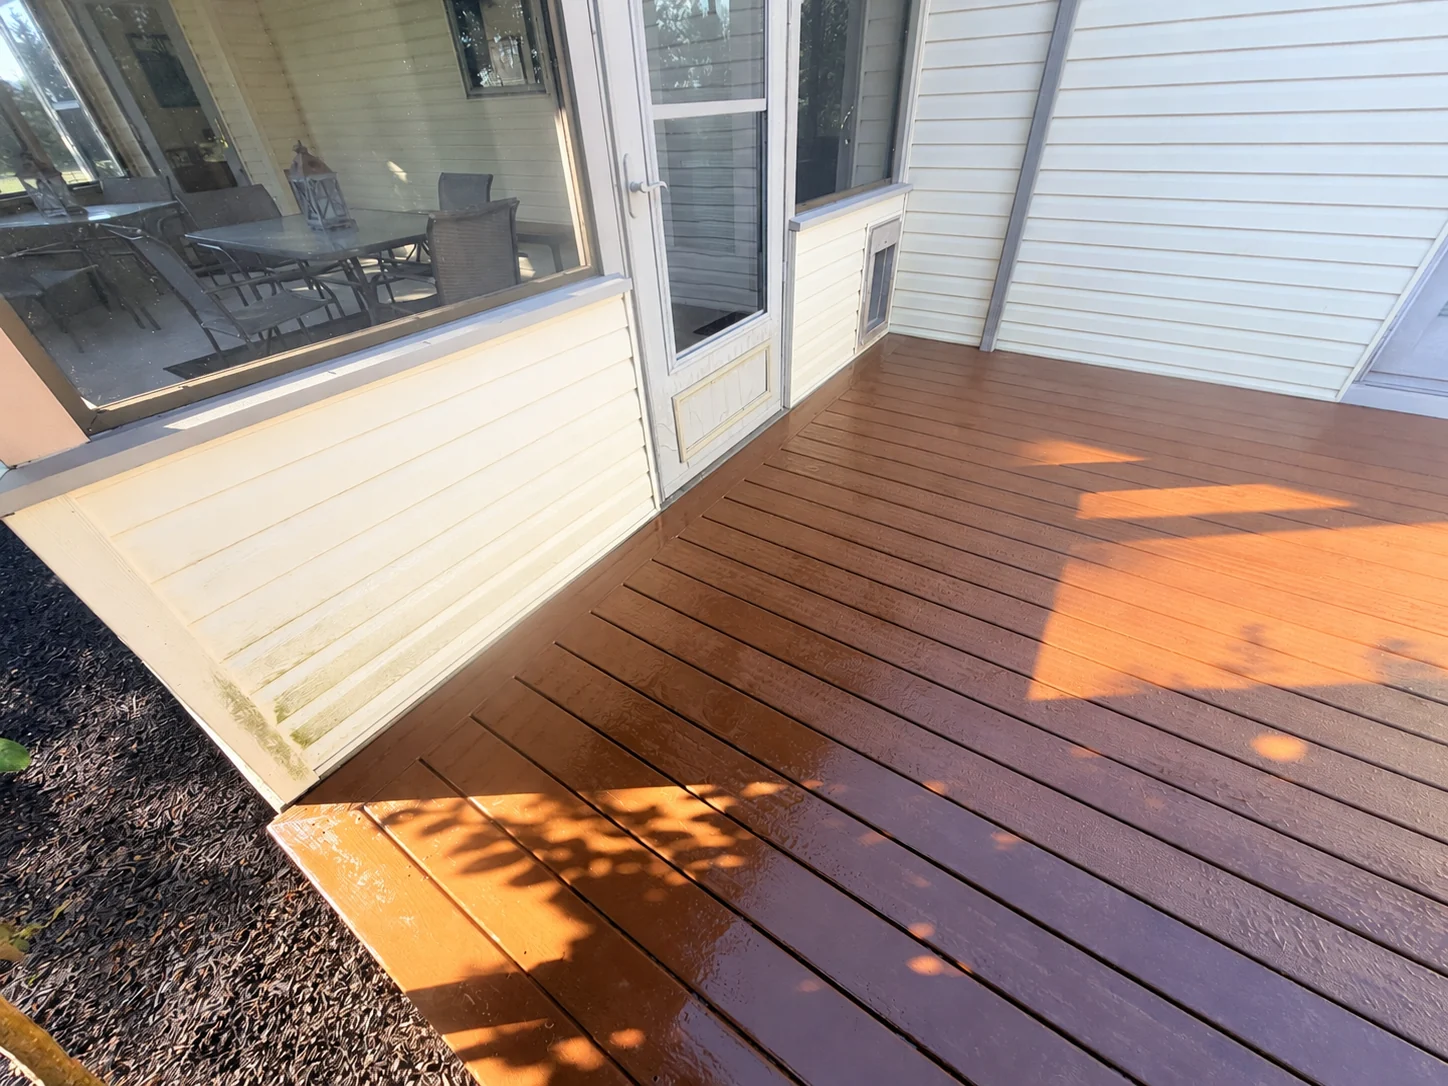 DETAIL
The porch connection
Deck board layout and the framed edge where the deck meets the screened porch.
Open photo ↗COMPLETEDReady for outdoor living
A finished view back toward the screened porch, with the black railing installed.
Open photo ↗Built to complement the home.
Explore the completed surface and railings, then browse more work from the Zenna Decks portfolio.
AFTERA new perspective on the backyard
The completed deck surface and black railing, photographed from the porch end.
Open photo ↗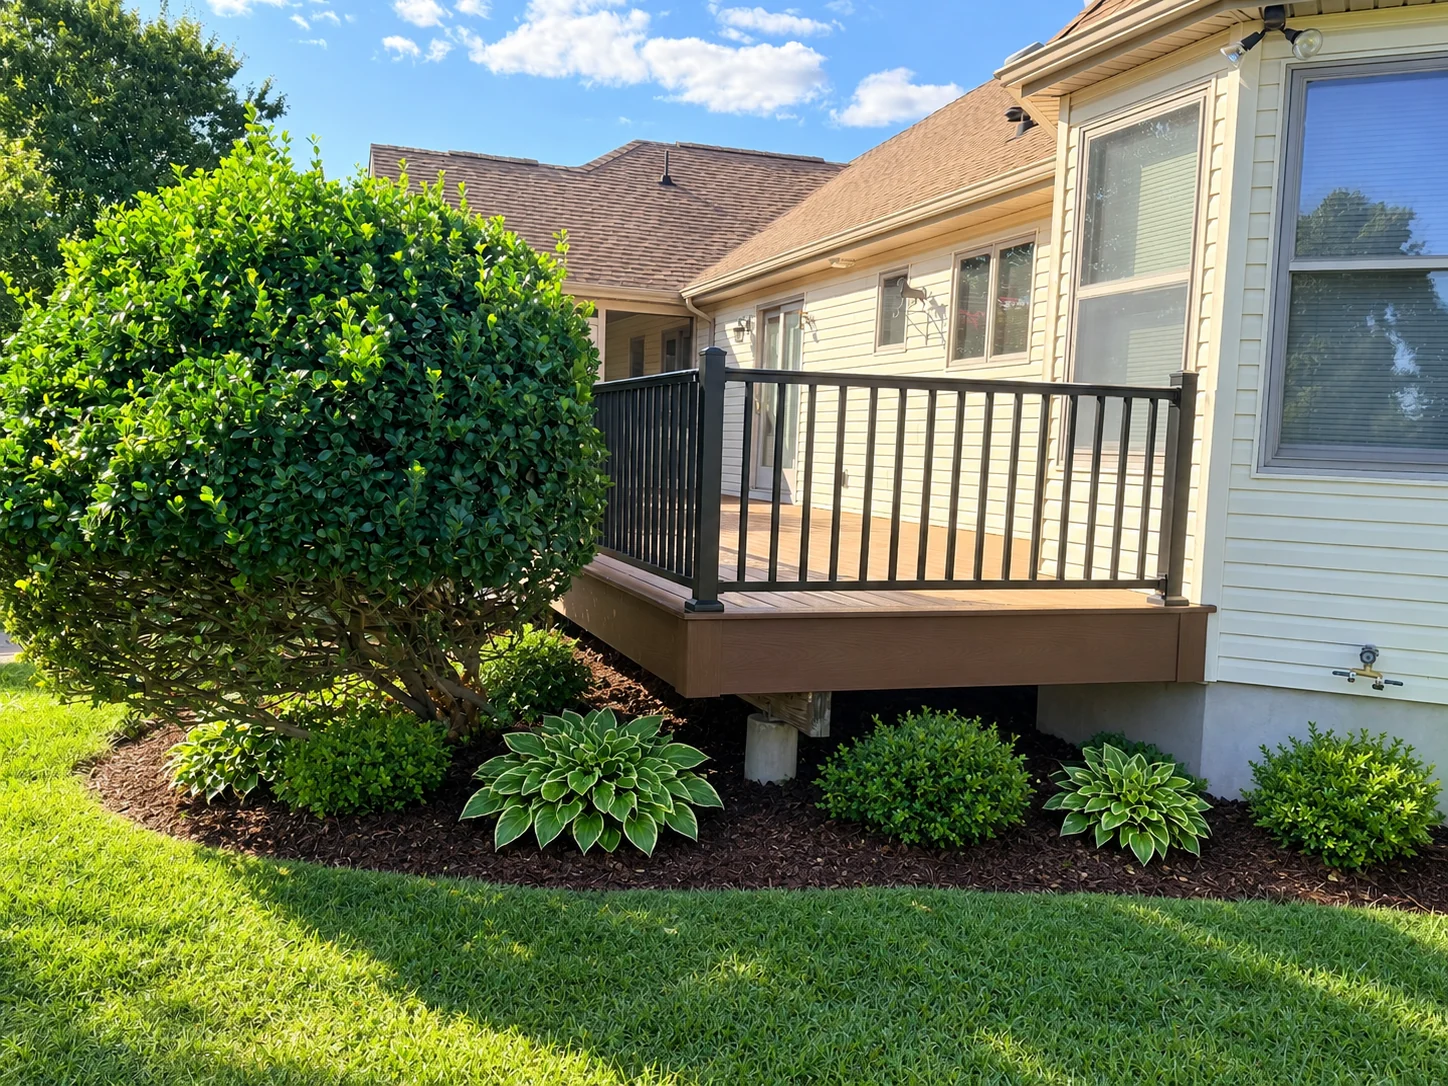 AFTER
AFTERThe finished edge
Finished fascia and black railings define the side of the deck.
Open photo ↗Your deck could be
the next transformation.
Tell us about your project. Call Zenna Decks or request a free, no-pressure estimate for your South Jersey home.